Detailing like never before
Posted on October 18, 2014 by Niek Nijsen
Welcome back to another long awaited update on the BK-117 project. After being at work for 2 weeks, I was ready for a healthy dosis of cutting, sanding, painting and glue sniffing.
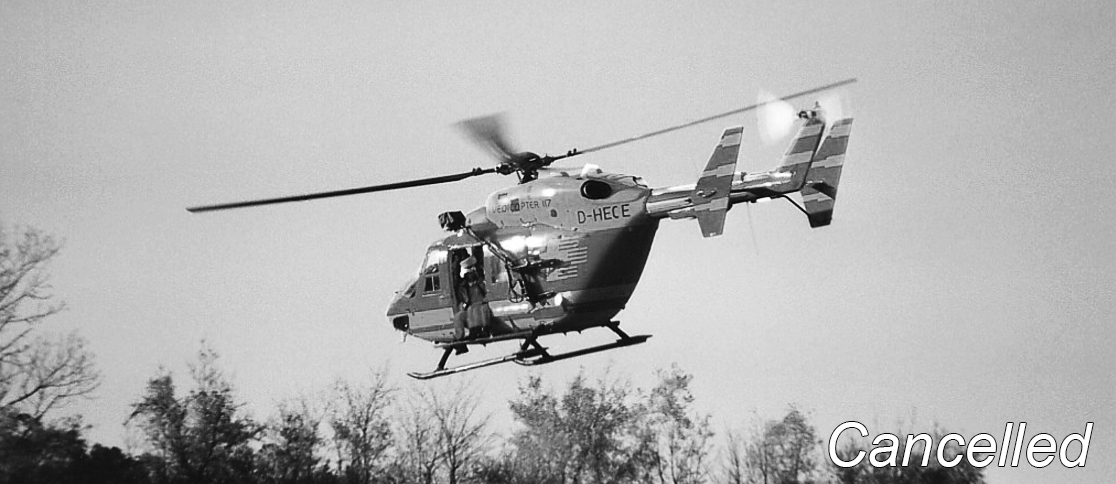
Having posted an update on the ARC forum as well (follow here), I received a lot of interesting comments that made me think hard about the project. As someone pointed out very clearly, the TV series used 2 helicopters throughout the seasons. Now the issue with that is as follows; One of them (D-HECE) is an actual EMS helicopter while the other one (D-HEOE) is a police helo. Thus resulting in 2 very different aircraft if you look closely. The main differences can be seen in the tailboom, interior and engine air inlets on the engine cowl doors. Another difference is the window in the left aft door (EMS version). So before I could continue with my model, I had to decide which one I'd be replicating. After saving a lot of photos of both aircraft, I made the choice to build D-HECE, as used in the pilot episode of the series. This is the version that got me hooked to the show in the first place. What followed were hours of (re)watching the pilot episode and taking as many screenshots as I could to get the needed photos of the interior and close-up details. Must have seen it 6/7 times by now, I can almost finish any conversation in the episode (and no, that's not a challenge I'll accept!)
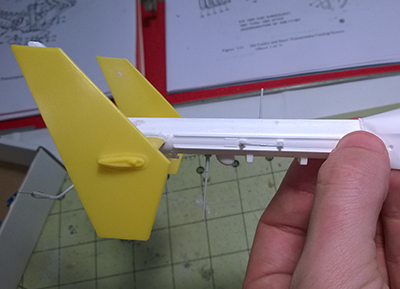
So since D-HECE doesn't have all the fancy GPS boxes and antenna's mounted to the tailboom, I had to redo the whole thing. Good thing I bought multiple kits with plenty of spare parts. First off was grinding the right side of the EC-145 tailboom to match the shape of the BK version. Using the new dremel tool this wasn't as much work as the previous time, although it still took me quite a while to achieve a result I liked. Once the basic structure was put together, I started adding PE parts to it, as well as antenna's and other bits and pieces. Details can be found in the photos. It's almost finished now, all that remains is adding a few PE parts to the vertical stabilizer, adding the strobe light and painting the whole thing.
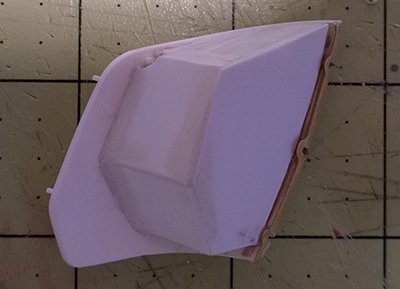
The interior also received a lot of work. I ended up building 3 interiors, consisting of a stock BK version, a EC version with some BK parts and the final version, which is basically a widened BK interior with EC parts here and there. A lot of work has gone in to this and kept me busy for 2 full days. Once the basic shape was finished, I added the first scratch and PE parts, such as the equipment board to the left side and rails on the roof for the storage box mounted there. It has been sanded and is ready for it's first layer of paint. Should be interesting as it will become the first part painted using my new airbrush and compressor. Perhaps I should practise a bit on some old parts first... The stowage box on the rear door has been removed as it didn't look like the real thing at all. A new box was build completely from scratch which is a lot better. It needs a little more work in regars to detailing but I'm very pleased with the result so far. Good thing the ADAC still uses the same box on their BK helo's and providing the needed photos to get the angles and size right. All this work on the inside required me to remove parts of the outer, newly merged fuselage as it didn't line up anymore. What I'll do is place the interior inside first and then line the BK fuselage parts up with it.
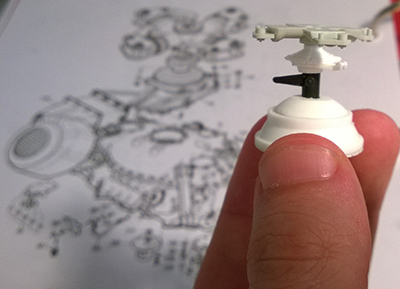
In terms of super detailing this model, I began building the M/R gearbox from scratch. I've managed to buy a copy of the official maintenance manual which contains very detailed drawings of all parts and components. What I've build so far is made up of parts from a Space Shuttle, an EC-145, a BO-105, a BK-117 and some plastic sheets. A lot more work has to be done (see drawing in the background of the photo to the left) before it's finished, but a start has been made.
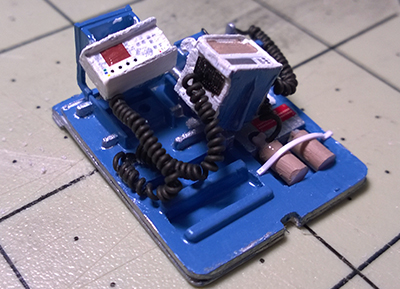
Continueing on the super detailing subject, I spent 3 hours on detailing the medical equipment board that will be mounted on the left side of the interior. Using parts from the BK, EC and a lot of scratch material such as wiring, strips and rods, I managed to get a pretty good representation of the real thing. Unfortunately there are not many (useable) photos of the actual Medicopter interior, so some of it is based on other models and imagination / logic. I'm very pleased with the result and think it's a good indication of just how detailed this model will be in the end.
A lot has happened in the past 2 weeks, but it's time again to put the project to rest and get ready for the harsh weather in the Shetlands. Please let me know what you think of the project so far (or if you have any suggestions). Feel free to send me an email, text, fill in the form on this website or give a ring, all comments are really appreicated and keep me going! See you in 2 weeks with another update.
Return to Previous Page

Niek Nijsen Ltd.
Comp. Reg. (UK): 13778584
VAT. Reg. (UK): 398 4757 24
info@nieknijsen.com
Copyright
Niek Nijsen Ltd. © 2008 -
All Rights Reserved
Privacy Policy | Terms of Business