
Get ready, get set, go!
Posted on April 30, 2020 by Niek Nijsen
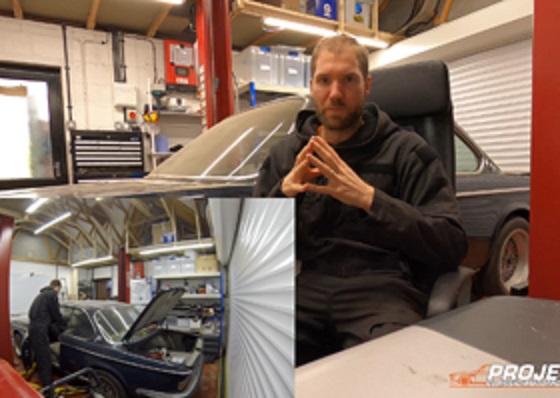
And we’re off! After many months of “supporting” work in and around the garage, I’ve finally started work on the actual car. What a milestone that is!
You may have already seen the very first episode of Project C.A.R.™ in which I introduce the project when I announced it in the previous blog update. If you haven’t already, you can find it on the video page of Brünhilda and YouTube or simply scroll down to the previous blog entry.
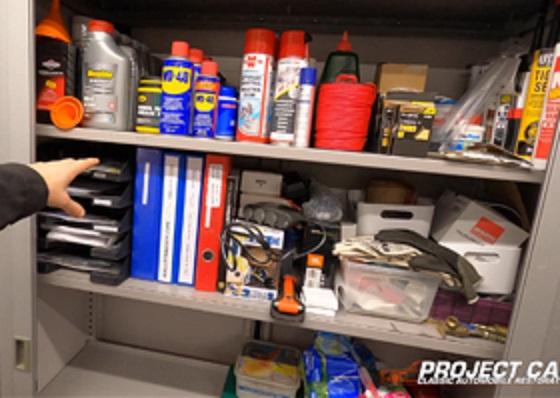
The time had come to begin work on the car. However, it required a good clean out before I could do that. When the car was moved, I had to put all the (spare) parts and tools inside so that needed to come out again. I noticed there was a lot of evidence of mice living in there over the winter. As clearing out progressed, it became clear that the blankets and left rear seat had been eaten badly. A large hole on the backrest appeared and it took two bags in the hoover/vacuum cleaner to get all the debris out. At this point I still hadn’t located the actual nest and could only image what the damage underneath the seat could be. The cleaning process then moved to the boot which turned out to be in pretty decent condition. Finally, now that this dirty job was done, I could begin taking the car apart.
I decided that the interior would be the best place to start. The front seats were removed (covered in full detail in the next episode of Project C.A.R.™) and the rear seats followed soon after. The latter isn’t covered in the BMW manual, so it’s definitely worth watching if you’re working on your interior as well (or simply interested in watching the series). It turned out that the mouse, which was found dead in its nest underneath the rear seats, had eaten most of the centre armrest and support above it. Another round with the vacuum cleaner followed to get rid of the nest.
With that gone and the seats removed, I now had the space to work on the rest. The carpet followed next and came out almost in one piece. From what I can gather it’s not an original as this was a single piece whereas the originals consist of multiple parts. Anyway, I had to take the centre console out as well as parts of the handbrake and seatbelts before I could remove it completely. All of which will be covered in the restoration series in the near future.
As part of the centre console had already been removed I continued the dismantling of the interior with the dash. Now the bottom halve is relatively easy to remove, especially because I only put it together last year, so it was still fresh in my memory. But as soon as I got to the top half, it became a real nightmare. Again, the manual is of no use as it covers the Bavaria version, not the E9’s more modern dash. Online research got me a bit further, but no definitive answer there either. Most suggested the front windshield is removed to get the dash out, but that wasn’t an option for me just yet as I can’t get any help at the moment due to the COVID-19 restrictions. I had to find a way to remove it from the inside. A slow process and a lot of hidden screws and clips later I managed to get the whole dash out in one piece. The wood is actually in good condition still and all will be cleaned and stored as it’s being replaced with a Group 2 racing dash. The bit that turned out to be the biggest struggle of it all was the original heater, which was glued in place with (too much) sealant in order to make sure it wouldn’t leak. At least 2 hours later before I got that removed and the entire dash was now out.
Lastly, I stripped the boot (trunk) of the spare wheel, fuel tank (another dilemma) and covering panels. The rear lights and wiring were also removed along with all the model badges and boot locking mechanism. All of which was pretty straight forward, aside from the fuel tank. This was supposed to drop out once the bolts had been removed, but the seal that’s placed to stop it from leaking had completely solidified with the car. Even a positive “tap” with a mallet hammer didn’t do the job. I left it overnight, thinking I’d try something else the next morning. Turns out that gravity can be your best friend and overnight the weight of the tank had taken its toll on the seal and dropped down out of the car. The boot was now considered “empty” and ready for blasting. Only thing left to do is to remove the boot lid itself.
And that brings us to a quick update on Project C.A.R.™ and the series’ episodes. As mentioned, if just uploaded the second episode in which we prepare the car and garage. Still now work on the car itself in this one, but that will soon change when I get to upload the next episode in the series. In that particular one we’ll cover the removal of the seats. I’m working on creating a separate page for the restoration on the website, so you can expect a brand-new home for it by the end of this month.
With all that being said, we’ve arrived at the end of this blog update. Don’t forget to watch the latest episode and subscribe if you haven’t already. Thank you for joining me and I look forward seeing you at the next one!
Return to Previous Page
Niek Nijsen Ltd.
Comp. Reg. (UK): 13778584
VAT. Reg. (UK): 398 4757 24
info@nieknijsen.com
Copyright
Niek Nijsen Ltd. © 2008 -
All Rights Reserved
Privacy Policy | Terms of Business