The Most Detailed Kit I've Seen To Date?
Posted on August 22, 2019 by Niek Nijsen
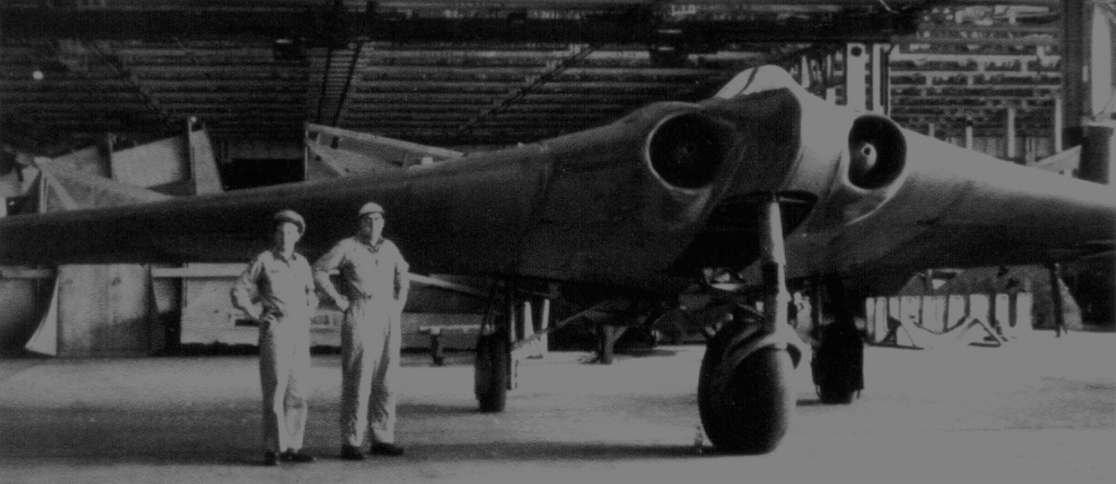
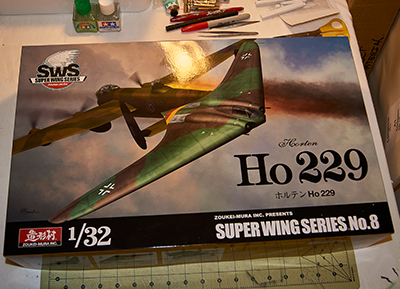
Is it? Surely looks that way straight from the box. I've seen quite a few models over the years but this one certainly packs a lot (if not the most) internal details. So much that the manufacture has made the entire wing and body sections from clear plastic, just to be able to display all these internal workings. I, for one, am certainly impressed by it all. But if that’s not enough for you, they offer a few additional items on their website for sale, which include resin replacement engines, photo etch parts for the cockpit & various figures. Of course, you should know me by now, I bought those along with the basic kit as well. Duh. Time to take a better look at the kit.
The box is absolutely jampacked with sprues, topped off with the beautifully designed instruction booklet! The ‘SuperWing Series’ definitely means business and it is clear how much time and effort the Japanese company has put into their models. Unboxing it all is a joy and I can already see the final result starting to take shape in my mind. With this much detail I can only think of, what I like to call, the 50/50 display option. What this means is I’ll be displaying one side of the models as the “real plane”, with the other half left open to show off all the internal details. I’m sure it’ll make more sense as I go along with this project and photos show you what I’m doing. As the original plane was made primarily from wood, I also purchased a set of the ‘Ushi van der Rosten’ wooden decal sheets. This will be used later to cover the left wing with.
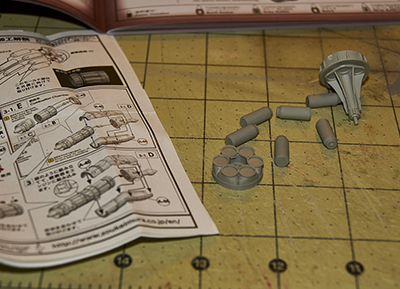
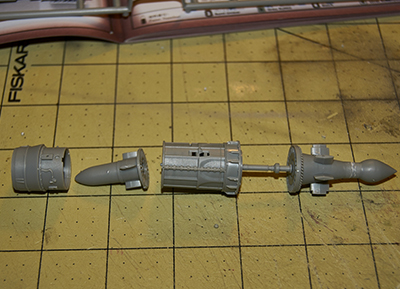
Enough of the introduction ‘blabla’ I hear you thinking, let’s get started with this show! I couldn’t agree with you more. I began by putting the engines together. The right side will be built straight from the box, while the left engine will be enhanced with the resin parts to display the internal compressor stages and combustion chambers. Yes, we’re going into this fine amount of detail. Once put together, I tried my newly acquired MRP metal paints, which complemented both engines beautifully.
Now that the engines where done, I shifted my focus to the tubular framework that makes up most of the centre body. A bit of sanding was required as the production process left a ridge along the parts where both halves of the moulds are pressed together. But that was it, the parts simple fell together and required very little glue to stay in place. What a joy to work with. As it’s a pretty complicated structure, I elected to paint the various parts before gluing them in place. Unfortunately, MRP don’t make a “German primer” colour for planes, so I had to mix this myself. From what I can find on the web, this was a somewhat green/grey-ish colour, which I tried to create by mixing ‘gunship grey’ with ‘RAF primer green’ (the latter being the one used on the Spitfire). After a few atte mpts I think I got pretty close to what I was looking for and began the process of covering it all using the airbrush.
Literally, as abrupt as I stopped the blog update above, did the project come to a halt. This was because we decided to move to a new house, and I was forced to pack all my models in boxes. The new model cave is now almost finished and hopefully I’ll be able to start work on the model again soon with blog updates following closely after. Bear with me for a little while longer.
Return to Previous Page
Niek Nijsen Ltd.
Comp. Reg. (UK): 13778584
VAT. Reg. (UK): 398 4757 24
info@nieknijsen.com
Copyright
Niek Nijsen Ltd. © 2008 -
All Rights Reserved
Privacy Policy | Terms of Business