Oh dear, that's big
Posted on May 05, 2022 by Niek Nijsen
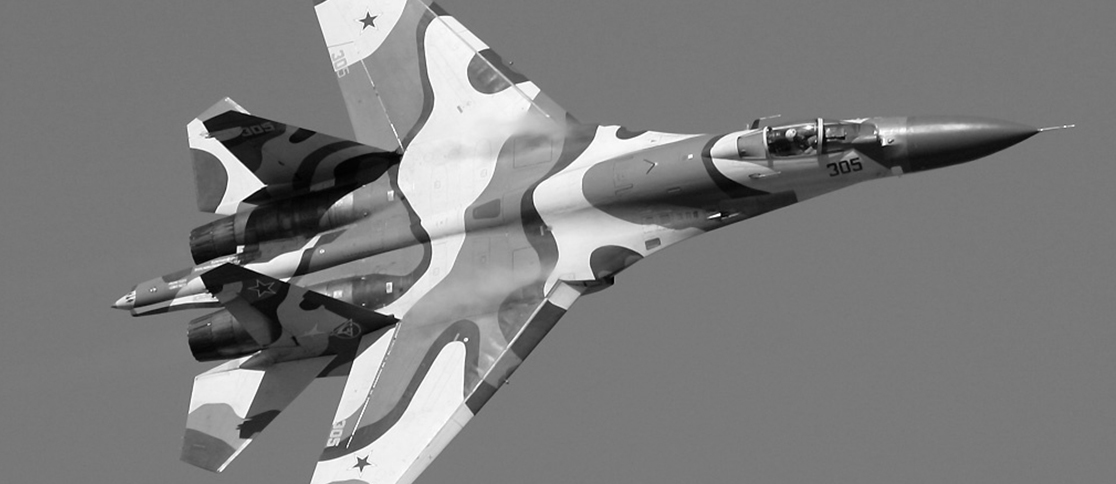
You’re probably thinking I already have enough models on my desk, which in a way is absolutely true. Then again, they’re all in a phase where for some reason I can’t get any further; they’re either in the waiting list for paint or I’m waiting on items to arrive before I can continue. So, I figured that since I wanted to build this model straight from the box, it would be a good time to put together the Flanker that I recently acquired.
The first thing I noticed was the humongous size of this jet! If you think back to the F-16 I build which I thought was big for this scale, the Flanker simply dwarves it to a toy size plane. It’s hard to believe until you put them side-by-side, which I’ll try to do in a future post to give you the idea.
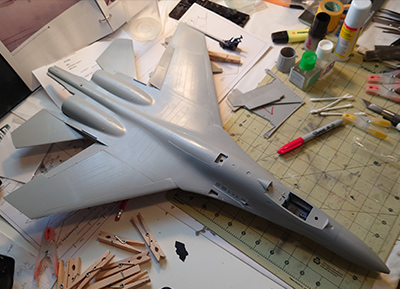
Anyway, I got going with the assembly of the jet in a rapid pace because a lot would be hidden since the jet is displayed in flight. None of the landing gear, wheel-wells, or internals needed doing and it wasn’t before long when I had the cockpit assembled which now required painting before I could continue. This was quickly achieved in the spray booth and further detail enhancements were done at the bench. At this point I decided to improve the cockpit with a colour PE set from Eduard, as well as adding the pilot.
Now that the cockpit was finished, I inserted a 10mm pipe inside that was glued in place with (probably) too much hot glue to provide strength for the final display. Once the glue cooled down, I was able to glue the two halves together, giving me a first glimpse of the final shape and size of this model. The wings and stabilisers followed soon after and it wasn’t before long before the jet was completed in its basic form. Sadly though, not all panels fitted nicely as the normal way of displaying this model is in a static format. I ended up having to fill and sand plenty of gaps before I was happy with the exterior work. All the small items will be added once the plane has been painted, they’re very small and fragile which will easily snap off trying to mask the camo scheme.
Despite the quick progress (it only took me a couple of weeks to assemble), I still have the missiles to assemble and finish the cockpit area (the canopy has a nasty seam running through the middle for instance). Once that’s done, we’ll be back in the spray booth to give this monster some colour!
Return to Previous Page
Niek Nijsen Ltd.
Comp. Reg. (UK): 13778584
VAT. Reg. (UK): 398 4757 24
info@nieknijsen.com
Copyright
Niek Nijsen Ltd. © 2008 -
All Rights Reserved
Privacy Policy | Terms of Business