Update 8: The Final Push | April 02 - April 26
Posted on April 26, 2016 by Niek Nijsen
Time to write my last build update, as the next post will be the final reveal (scheduled later next week). While waiting for the new batch of paint, I used Tamiya clear (X-25 & X-27) to paint various lights on the aircraft. A few days later the paint arrived (LifeColor FS34087, FS37038 & FS37925) and I was able to continue and finish this project.
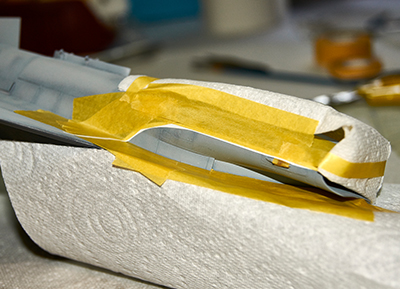
The tail (FS37925) and canopy (FS37038) were masked and sprayed in preparation for decals. The bombs were sprayed with FS34087 before I hand-painted the frame that holds them onto the aircraft. The upper half of the intake received its slightly darker "camo" paint (same as used on the nose) and the inlet itself was sanded again (still wasn’t happy with how it looked) and repainted.
Using the lit of the paint bottle, I painted the tips of the bombs, missiles and fuel tanks before giving them a gloss varnish. Decals were added, but since the aftermarket bits came without, I used some that matched the real thing that were taken from other kits in my spare stash. With the decals done I gave everything a matt varnish coat.
With the decals sealed in, I took out the Flory dark dirt wash and gave all weapons and good amount of it before taking it off again. Once that was done I followed with various pigments and oils to weather them further.
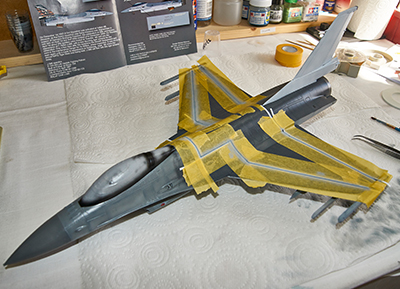
Time to work on the plane itself again. Although the aftermarket decals came with the walkway lines, I decided to spray them on instead which would make it easier for me to weather them down later on. A lot of masking was required to achieve this and the colour used was FS36375 (same as the belly). I did the same for the refuel markings. Once dry I sanded it all down using various Flory sanders to wear them down. At some places I purposely sanded through the paint underneath to get colour tonal variations across the top surface.
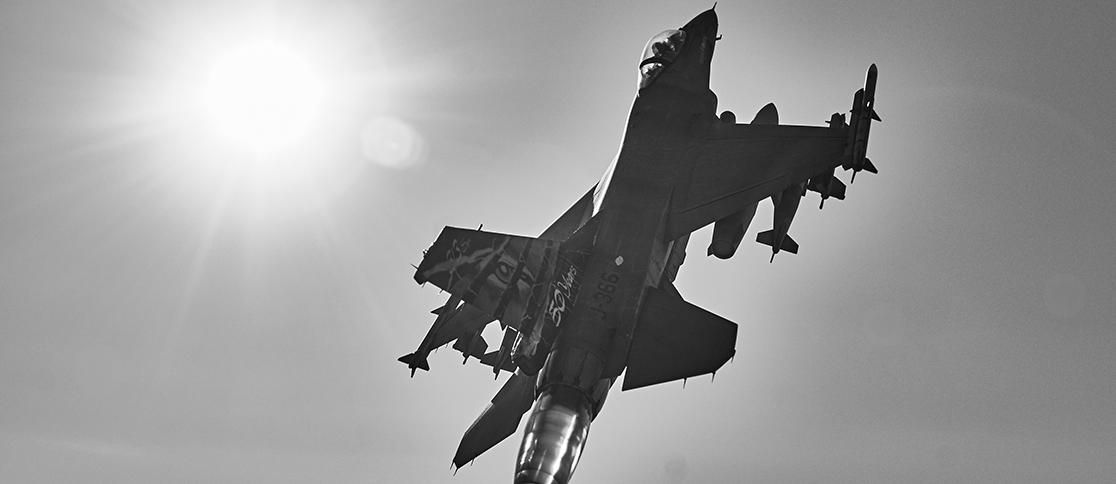
Now came the hard part, weathering all the panels like on the real machine. A quick background story on why I think she's so heavily weathered; Just before the plane got her distinctive tail design, she was flying in Afghanistan in support of Operation Enduring Freedom. Operating in the desert seems to have a "sandblasting" effect on the paint on these jets. Although having asked Phil in one of his Q&A's what he would suggest on achieving this effect, I turned his principle around and decided to "add" the chipping instead of actually chipping the paint off. Using a sponge I dabbed FS36270 (same as the front section around the cockpit) on all the panel lines. The same was done on the bottom but I used FS36231 for it. All this was then sanded down to blend in with the rest.
Decals were added and I used MicroSol products to give them the "painted on" look.
The finish is slowly coming in sight. But then there's this massive hurdle just in front of it, named the tail decal. It's simply massive in size and no way this would go on easy. I started with the lower bits, which weren't too bad, aside from the fact they're way too big and needed cutting to shape once placed. The top bit was a different story. I tried my luck by putting the first one as a whole. This resulted in tearing and folding as I tried to move it around. Let alone the fact that this one was too small, leaving gaps all around it. The other side was cut up into sections and then added to the model, which was easier but still no perfect result. I then used various paints and pigments to colour the white bits and make them blend in with the actual decal.
The whole model was given a matt varnish, except from the tiger decals which are gloss. Using black pigment I added exhaust fumes and gunpowder residue to the respective openings. While removing the masking tape around the tail, I tore one of the J-366 decals. Instead of repainting this by hand, I decided to leave this as it would blend in nicely with the rest of the weathered look. The varnish was given the night to dry and I applied the dark dirt wash all over the model the following morning. With a damp (and sometimes wet) cloth and cotton bud it was wiped off to achieve the desired effect of weathering.
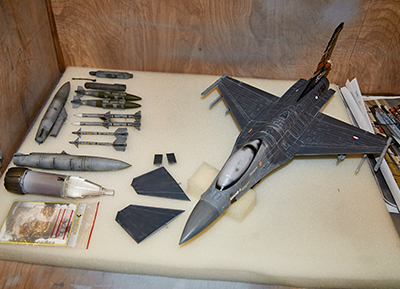
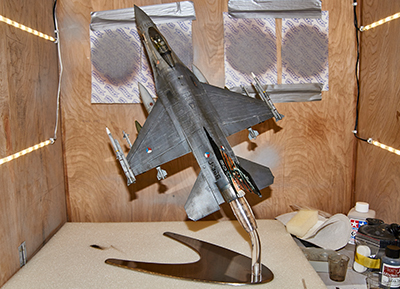
So, finally all the painting and weathering is done. Time to add the weapons and give you a little preview of the model. I still need to do a few things; Add various aerials, detail the exhaust, and paint the afterburner effect on the stand. But that will all be seen in the final reveal later next week.
Thanks for following and your comments!
Return to Previous Page
Niek Nijsen Ltd.
Comp. Reg. (UK): 13778584
VAT. Reg. (UK): 398 4757 24
info@nieknijsen.com
Copyright
Niek Nijsen Ltd. © 2008 -
All Rights Reserved
Privacy Policy | Terms of Business