The little lion cub
Posted on October 10, 2015 by Niek Nijsen
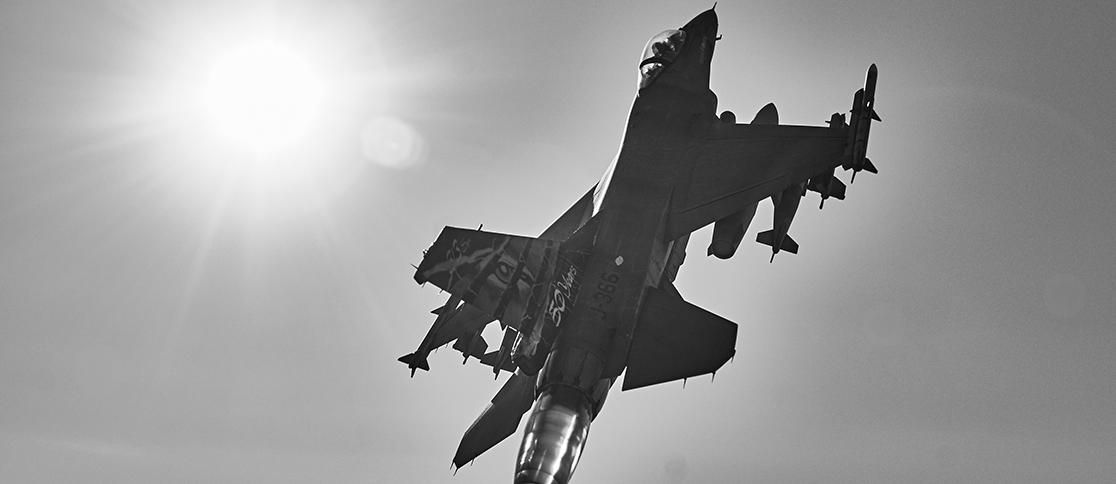
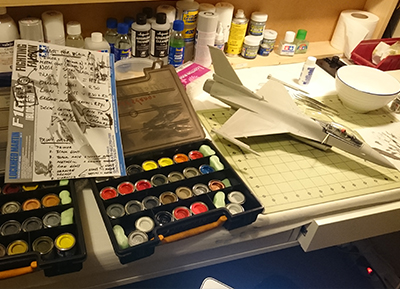
It seems like I’m building a lot of models at the same time, with work being done on the King Tiger, the BK-117 currently on hold and now another project. But I’m waiting on parts for the Tiger and still not feeling like working on the BK, so what to do in the mean time? Well, you start a new project indeed. I choose to begin on the F-16 because I’ve heard and read a lot about the ease of this kit fitting together and how quickly it can be build. So I wanted to give it a try and to be honest with you, most of it was together after a few hours work on a single night…! I’ll be displaying this model in flight, so a few changes will have to be made to the kit and sadly a lot of the detailed features won’t be visible.
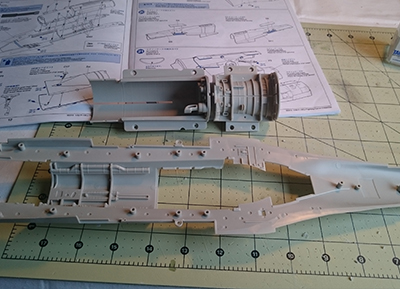
This kit is by far the best fitting one I’ve build to date. I’ve heard a lot about the Tamiya kits and how well they go together, but I’m really surprised by it. A little flash that needed removing and some sanding here and there, but other than that it was a straight forward “cut, fit, glue, and job done” process. This being my first Tamiya kit, I’ve never seen anything being put together with screws. They’re all over this model, but extremely well placed and add a lot of strength to the plane. And it keeps parts together while the glue is drying to fill the minimal gaps. Very interesting to put together, especially when I realised that most parts can be removed after construction because of a smart system of pins and rubber tubes inside the model. Now I must say that not adding any scratch-build items to this kit does make things easier, but I’ll make up for that later on when getting to the actual paint job and decaling of the model. After all, it’s going to be the Orange Lion of which are limited decals available, but certainly not in this scale.
The only item that I replaced with some aftermarket stuff is the exhaust. Although the original from the kit is actually quite good looking, it came to my attention that anyone building this kit used the new resin exhaust. I may be doing something wrong, but it doesn’t seem to fit inside the original kit engine at all, which is removable from the plane once build. So for it to fit in my model, I had to cut the front bit of and glue it inside before adding the exhaust from the back, basically removing the middle section of the engine completely. Good thing it’ll be displayed in a flying position.
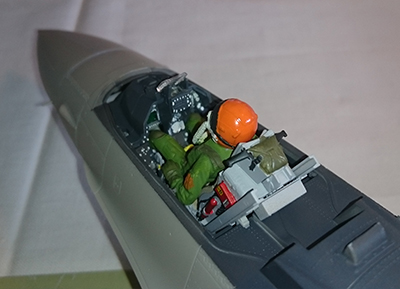
Although there’s a resin kit available for the cockpit as well, the cockpit that comes with the kit is very detailed and a great representation of the real thing. It even comes with an ejectable seat! It goes together very easy and it didn’t take long before it was ready for paint. Having recently bought the new Vallejo acrylic paint collection, I felt I should give this a try. It’s the first time I'm using acrylics and I must say I struggled a lot with the initial setup of the airbrush and thinning the paint. Luckily I managed to get it sorted and sprayed the cockpit using my new airbrush. The rest of the model will be painted in enamels since it’ll be gloss work (also a first for me), which gets better results than with acrylics. And I’m a lot more comfortable using enamels to be honest.
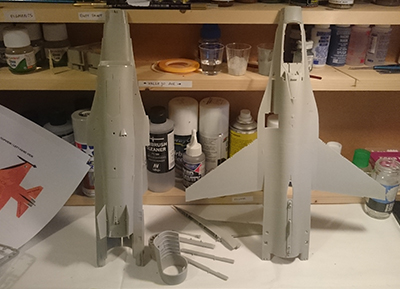
The only parts that needed some significant work to fit properly were the gear housing and covers. As the kit is designed to be standing on it’s wheels with all the covers opened up, it turned out not to fit very well when closed. So I started by removing the gear itself and a lot of the interior parts that are located in the wheel bays. I then added a few plastic strips on the inside for strength and glued the covers in place. Next I sanded the covers down to match the surrounding parts before filling the gaps and sanding it all over again. So far making the gear covers fit properly took the same amount of time as putting the rest of the kit together. I’ve also reshaped the side winders (rockets) to match the smoke winders on the real aircraft.
The kit also comes with a pilot figure. You’ll need to add the head and arms to correctly position it inside the cockpit and line up his hands with the controls, but other than that a very simple job. Because my throttle lever has been positioned fairly far forward, I had to cut the left arm and adjust it slightly to get the correct angle. Once aligned and glued together, I painted the figure using enamels and a clay wash to add some depth and colour change to it. The helmet was painted in gloss orange, the same that will be used on the outside.
As mentioned before, the paint scheme and decals will be the most challenging part of this build. It’s the first time I’m using gloss paints and it’s also the fist time I’ll be making my own decals. I’ve purchased a 1/72 kit of the Orange Lion and also some decals in 1/48th scale as a template. I’ve scanned these and am currently working on them in Photoshop to match my scale. Once finished, I’ll print them on label paper to use as masking tape. The decals will also be enlarged to scale (if possible) or completely redone by myself before being printed on decal sheets.
That’s it for my progress on the F-16. A lot has been done and great progress has been made. But the most challenging bit is still to come, where I’ll be making my own decals and painting my first ever gloss model. Wait and see what happens! As always, photos to be found in the gallery link at the top of the page. Until next time!
Return to Previous Page
Niek Nijsen Ltd.
Comp. Reg. (UK): 13778584
VAT. Reg. (UK): 398 4757 24
info@nieknijsen.com
Copyright
Niek Nijsen Ltd. © 2008 -
All Rights Reserved
Privacy Policy | Terms of Business